
Installing Hotjar with Google Tag Manager has been easier than using the conventional method of adding Hotjar tracking code to your website. Below is a step by step guide to install Hotjar via google tag manager template.
Step1: Setup Your Hotjar Account
If you don’t have a Hotjar account yet, you have to sign up for a free account and add your website. If you already have an account, you can add a new site by clicking on the new site button under sites and organizations.
If you have the Hotjar tracking code on your website, you need to remove it before continuing this.
Step2: Get the Hotjar Website ID
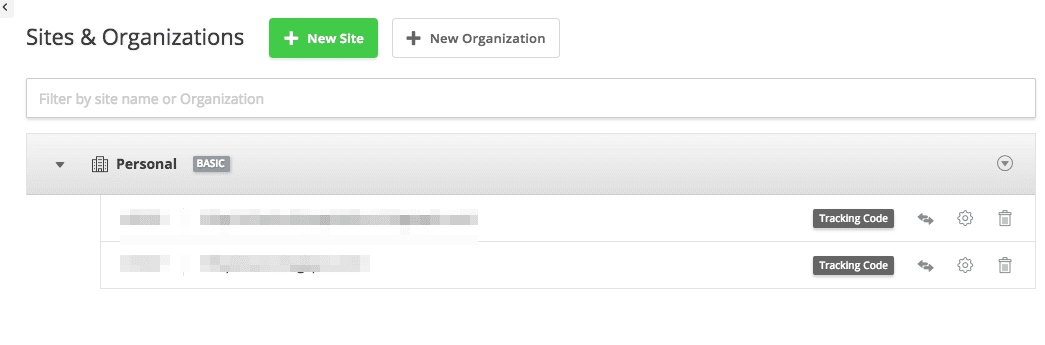
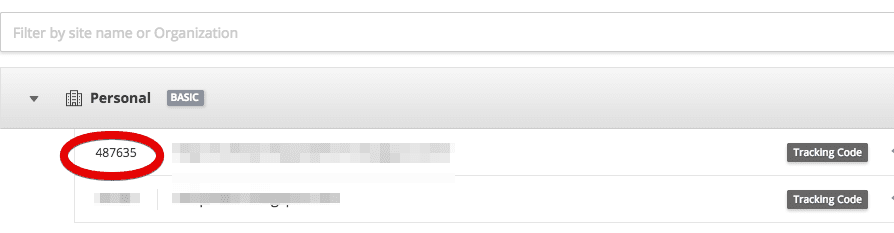
Once you add your website to Hotjar account, you need to copy the unique website ID. You can get this by clicking on the setting dropdown menu and then clicking on sites & organizations.
Here you will see the list of your websites connected with Hotjar. Copy the website id of the specific website.
Step3: Install Hotjar via Google Tag Manager
1. Login to your tag manager account and select the specific container
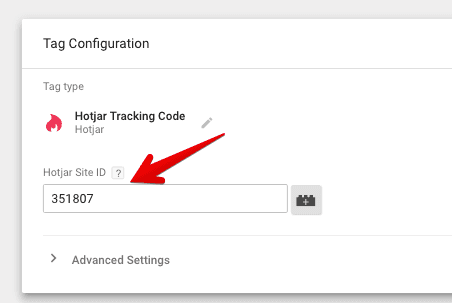
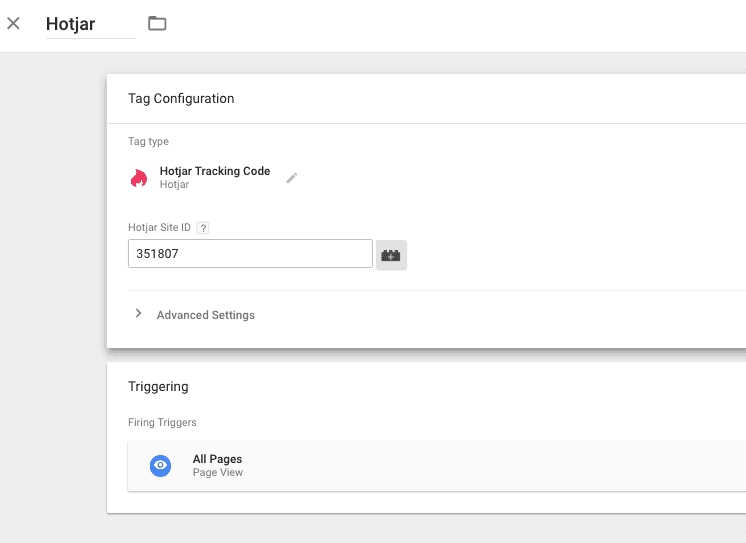
2. Create a new tag and select hotjar as the tag type.
3. Paste the hotjar site ID you previously copied
4. Create a trigger to fire on specific pages. In my case I use hotjar on all pages, so i am selecting the all pages trigger.
Read Also: How to Install Shareaholic with Google Tag Manager
Step4: Test & debug this tag
Now it’s time to test the changes in the workspace before setting them live. Click on the prevew button to preview the changes and see if the tag is firing successfully.
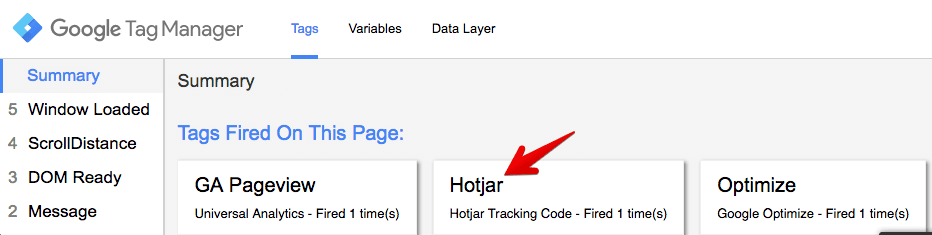
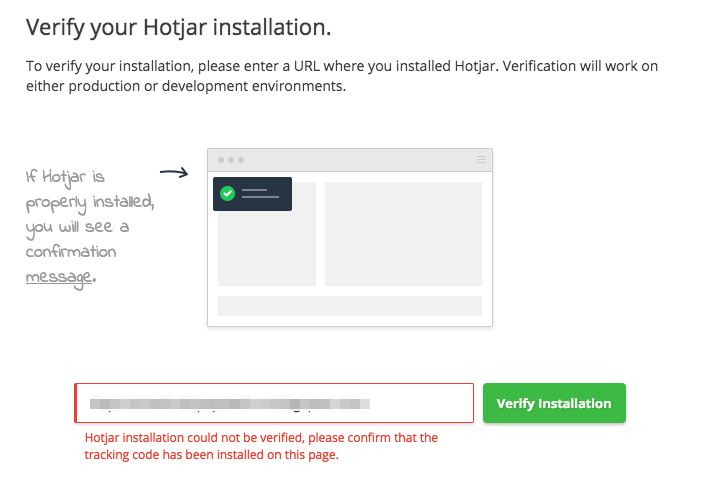
Leave the preview mode and publish the new workspace changes. Another way is to open your Hotjar account and verify installation inside the dashboard.
If you have any questions regarding this topic please let us know directly on Twitter.