If you have a lot of form submissions recorded in Google Analytics or if your Adwords conversions are more than your actual inquiries, you might want to use form submission tracking using Google Tag Manager. Most forms use some sort of validation to make sure they avoid common typos and get submitted correctly.
In order to make sure we collect accurate data using form submission tracking, we should only track validated form submissions in analytics. This ensures that the data our analytics tools collect matches the actual number of submissions recorded in your system.
Google Tag Manager provides built-in functionality to track validated form submissions but there are some limitations to the approach. I discuss two ways to implement validation to improve conversion tracking below.
FORM VALIDATION WITHIN A WEBSITE
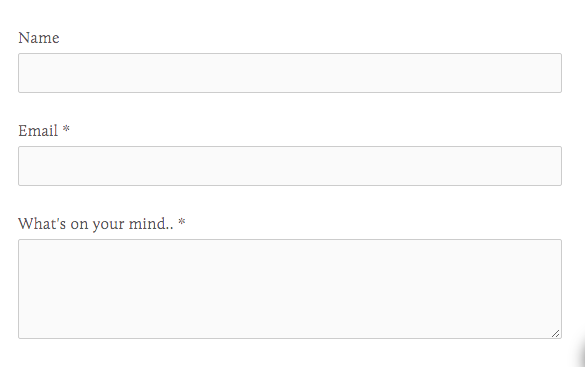
Building form validation within a website is a good practice as it ensures that the user fills out correct information. This saves time spent on waiting for an https response and also saves server from dealing with bad form input. This is a common feature of most form plugins as seen in the image below.

Even with validation embedded in website code, GTM by default, fires the form submission tracking tag whenever the form is submitted, regardless of incomplete form inputs and at times, empty forms.
FORM SUBMISSION TRACKING GOOGLE TAG MANAGER
To ensure that a form is validated, Google has created form validation within the website, which ensures that Form Tag is only fired when form gets submitted successfully.

Does “Check Validation” Validate All Forms?
We can see Check Validation box under Configure Trigger but this validation is limited to validating certain elements, like where the form is located on the site, and not the actual field validation that is required to actually validate form.
A RELIABLE ALTERNATE
Tracking form submission with GTM is quite different and it tracks whenever the form is submitted. Best practice of validating forms is to utilize custom Javascript code and apply it as required, triggering condition. To do so, we create a Custom Javascript Variable within Tag Manager.
Please note this requires familiarity with javascript. If that is not what you are used to, share the following with your developer:
Under Container Tab in GTM, select Variable from left navigation.
Scroll-down to User-Defined Variables.
Click New button.
Select Custom JavaScript as the required type.
Here we can write any kind of validations required before successful submission.
Example:

In the case of the aforementioned example, I have a simple user feedback form. There are three fields with id input1, input2 and input 3 respectively. The following code can be used for simple validation:
function(){
        var emailReg = /^([a-zA-Z0-9_.+-])+\@(([a-zA-Z0-9-])+\.)+([a-zA-Z0-9]{2,4})+$/;
        var ContactForm = jQuery('#gform_3');

     if(ContactForm.find('#input1').val().length>0
        && emailReg.test((ContactForm.find('#input2').val()))
        && ContactForm.find('#input3').val().length>0)
    {
        return true;
    }
    else
    {
        return false;
    }
}
The code makes sure that there are no empty fields when form is submitted.
It also validates that email input is in correct format.
You can extend code by further validating data type of “Name” field or put checks for any other validation, depending on what you require. Make Sure to Match GTM Validation with Site Validation. Once this variable is created, we can integrate it in our Form tag.

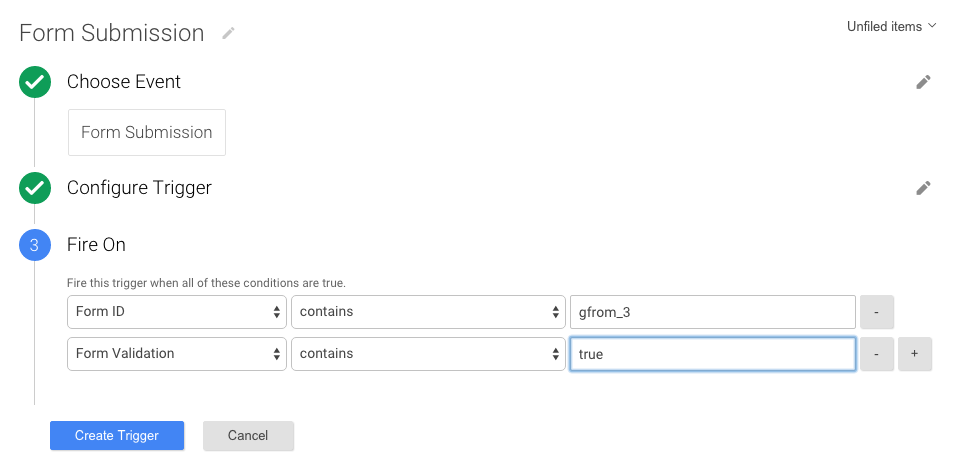
As shown above, under the Fire On section, we have included additional condition contactFormValidation(Custom Javascript Variable) to be true to trigger Form Submission. Once Tag is updated and published, we don’t have to worry about Form Validation anymore.
If you have multiple forms you’ll need to create a validation variable for each one based on fields in the form. Once this trigger is ready you can apply this to any tag that is triggered based on form submission tracking and it will ensure that the data becomes accurate by only firing on valid conversions.


